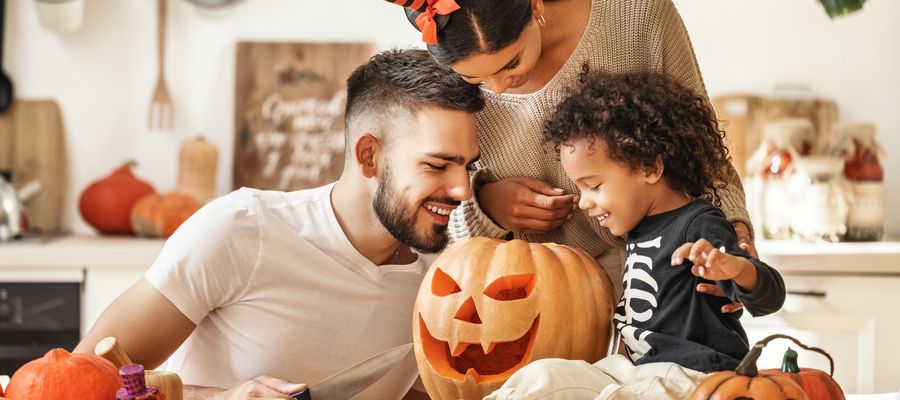
With Halloween fast approaching, here are some key tips on how to create a spooky centrepiece for the home and a tasty sweet treat!
Buying the perfect pumpkin
• Pick a healthy pumpkin that is not bruised or cut.
• Pick the appropriate pumpkin size, for instance, if you are planning an elaborate carving design, a larger pumpkin means more design options
• Most pumpkins will rot after a week and a half to two weeks so make sure you buy your pumpkin just before you need it
Popular carving design methods
• Carve a traditional jack-o'-lantern: cut out eyes, a mouth, and perhaps a nose. This design is easiest for beginners.
• Carve a silhouette. Pick a shape––for instance, a ghost––and carve out the "negative space" around the ghost's shape, then carve out features like eyes or a mouth. You'll end up with a circle of light around the dark shape, with lighted details.
• It is recommended that you use a permanent maker to outline your design on the pumpkin
Carving the Pumpkin
• Find an appropriate knife: use a serrated bread knife for pumpkin carving. When carving, draw the knife back and forth.
• Find a spacious work area where you can lay down some newspaper on a flat surface. Make sure you have a bowl to collect the flesh and seeds.
• Start off by cutting a lid. Measure a circle with about a 2-inch (5cm) radius from the stem. You'll cut around this circle to make the lid. Make sure you do not make the cut completely vertical; instead, angle the point of the knife in towards the center of the circle.
• After you've removed the lid from the pumpkin, cut a slice off the underside to remove excess filling and flatten the bottom.
• Remove the filling from the pumpkin with a large spoon or your hands to pull all of the strands and seeds from the inside of your pumpkin- reserve this for your Pie later!
• Then start carving your design using a gentle back and forth motion to cut into the pumpkin. Discard cut-out pieces as you remove them.
• When deciding on what light source to use, always base your decision on potential safety concerns. Candlesticks, tea lights, flashlights and flickering LEDs are all popular options.
• If you decide to use a real candle, make sure your carving will provide the flame with enough oxygen to keep burning.
Once your pumpkin is finished, choose a safe display area. If you're using a candle in your pumpkin, place it in an area away from flammable items. If you're using a candle to light your pumpkin and placing it on anything wooden, place a plate down first, to catch wax and avoid setting anything on fire.
What to do with all the flesh you have taken out of the pumpkin?, easy- Halloween would not be Halloween without a delicious Pumpkin Pie recipe!
Ingredients
• 750g/1lb 10oz pumpkin or butternut squash, peeled, deseeded and cut into chunks
• 350g sweet short crust pastry
• plain flour, for dusting
• 140g caster sugar
• ½ tsp salt
• ½ tsp fresh nutmeg, grated
• 1 tsp cinnamon
• 2 eggs, beaten
• 25g butter, melted
• 175ml milk
• 1 tbsp icing sugar
Method
1. Place the pumpkin in a large saucepan, cover with water and bring to the boil. Cover with a lid and simmer for 15 mins or until tender. Drain pumpkin then let cool.
2. Heat oven to 180C/160C fan/gas 4. Roll out the pastry on a lightly floured surface and use it to line a 22cm loose-bottomed tart tin. Chill for 15 mins. Line the pastry with baking parchment and baking beans, then bake for 15 mins. Remove the beans and paper, and cook for a further 10 mins until the base is pale golden and biscuity. Remove from the oven and allow to cool slightly.
3. Push the cooled pumpkin through a sieve into a large bowl.
4. In a separate bowl, combine the sugar, salt, nutmeg and half the cinnamon. Mix in the beaten eggs, melted butter and milk, then add to the pumpkin purée and stir to combine.
5. Pour into the tart shell and cook for 10 mins, then reduce the temperature to 180C/160C fan/gas 4. Continue to bake for 35-40 mins until the filling has just set.
6. Leave to cool, then remove the pie from the tin. Mix the remaining cinnamon with the icing sugar and dust over the pie. Serve chilled with lashings of whipped cream!.
Related Articles


